
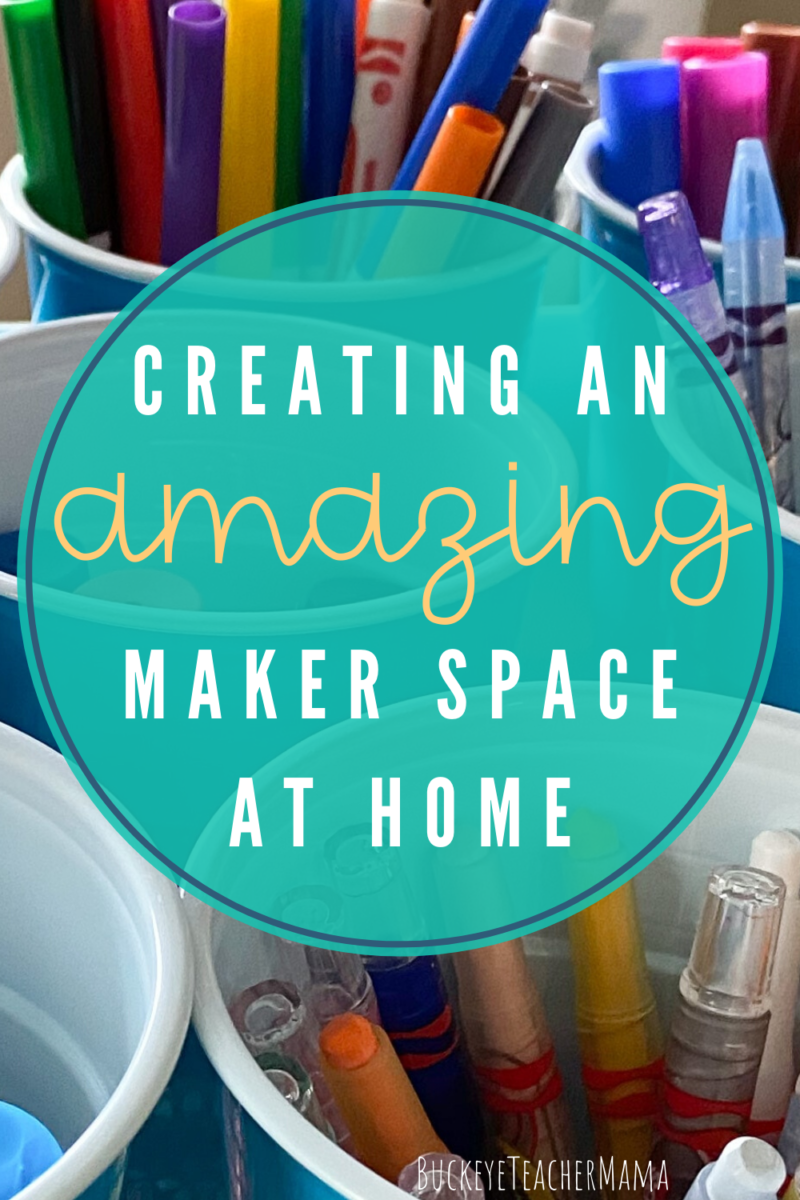
Creating a Maker Space in Your Home- Super Simple Tips for Organizing Kids Craft Supplies
Have you ever tried organizing your kids craft supplies only to have them destroy your organization in .884722 seconds?!? Isn’t this one of the most infuriating things ever? So what do you do? If you are like me, you deal with it and reorganize over and over. Does that make sense? Nope!
Recently I have started a journey towards minimalism. I was recommended a really great podcast called THE PURPOSE SHOW by Allie Casazza where she talks about minimizing your stuff so that you can have time for the things that really matter. You might be wondering how this fits with children’s craft supplies…I’ll get there, I promise!
In her podcasts and courses, Allie teaches that you must be INTENTIONAL with your space so that you can be intentional with your time. That is exactly what I’m going to teach you about and in a short time, your kids craft supplies will be neatly organized and used with intention!
Where to Start and How to Not Get Overwhelmed When Setting Up a Maker Space and Organizing Kids Craft Supplies
When organizing craft supplies and setting up a maker space, the first thing you need to do is figure out what space you want your kids to use. Do you want it to be in their rooms? A shared office space? Playroom? It is helpful to think about your level of supervision. This is probably more important for parents of younger kids but also something to consider when thinking about messes and how quickly they can be cleaned up.
Once you have a space in mind, you need to figure out where you will be storing these items. Having a shelf or containers in mind is a must! You also need to consider where your children will be working. Do you want them on the floor, at a desk, dining room table, or maybe a craft table?
This next step is KEY! Once you have picked your space and storage piece (i.e. shelf, cabinet, drawers, etc.), you need to analyze how much will fit because this is the ONLY place you will store your kids craft items.
Finally, you need to declutter! Figure out what you want to keep, donate, throw away, or give away. Does your child need 97834597 sticker books? How about those coloring books that are completely used up? Pitch what is used up, donate things that are in good shape but aren’t used by your kids, and keep only the craft supplies that you think your kids are really going to use.
If you have a bunch of stuff that you can’t bring yourself to throw away, find a teacher! Lots of teachers need stickers for their prize boxes, coloring books for indoor recess, or paper scraps for their writing stations. Trust me, teachers will find a way to use this stuff if you donate it to them!
Now What? Organizing Your Supplies
This is the fun part of this project. Look at what you have and decide if there are other needed supplies for your craft area. Once you have a good idea of what you need, gather it up and take it to the area that you have designated as your maker space.
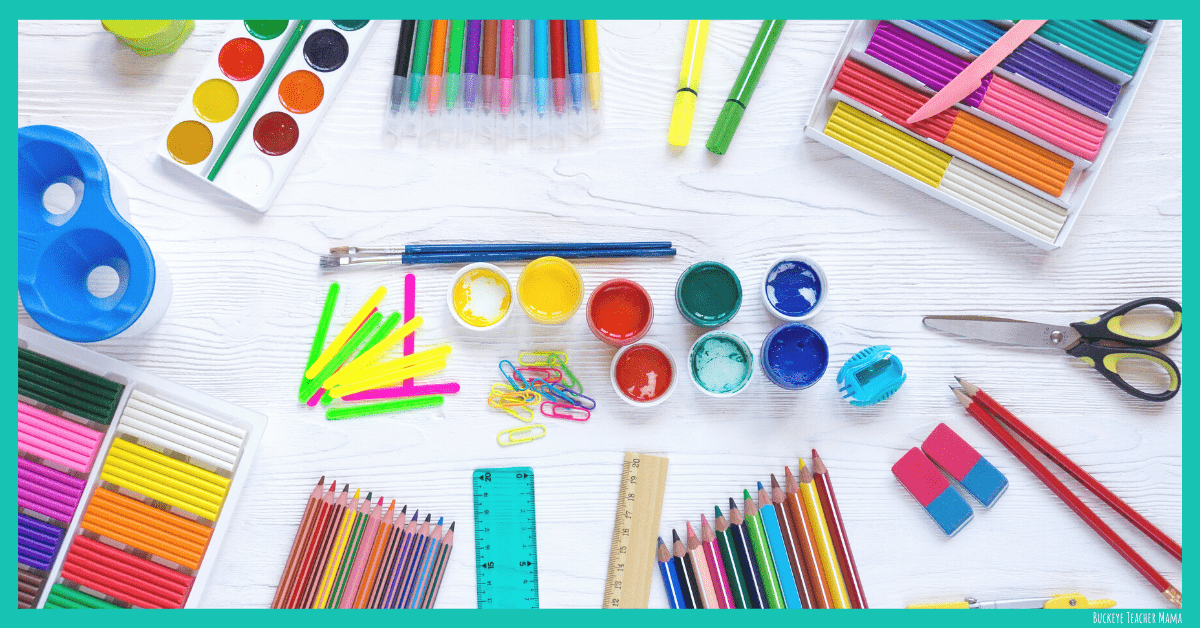
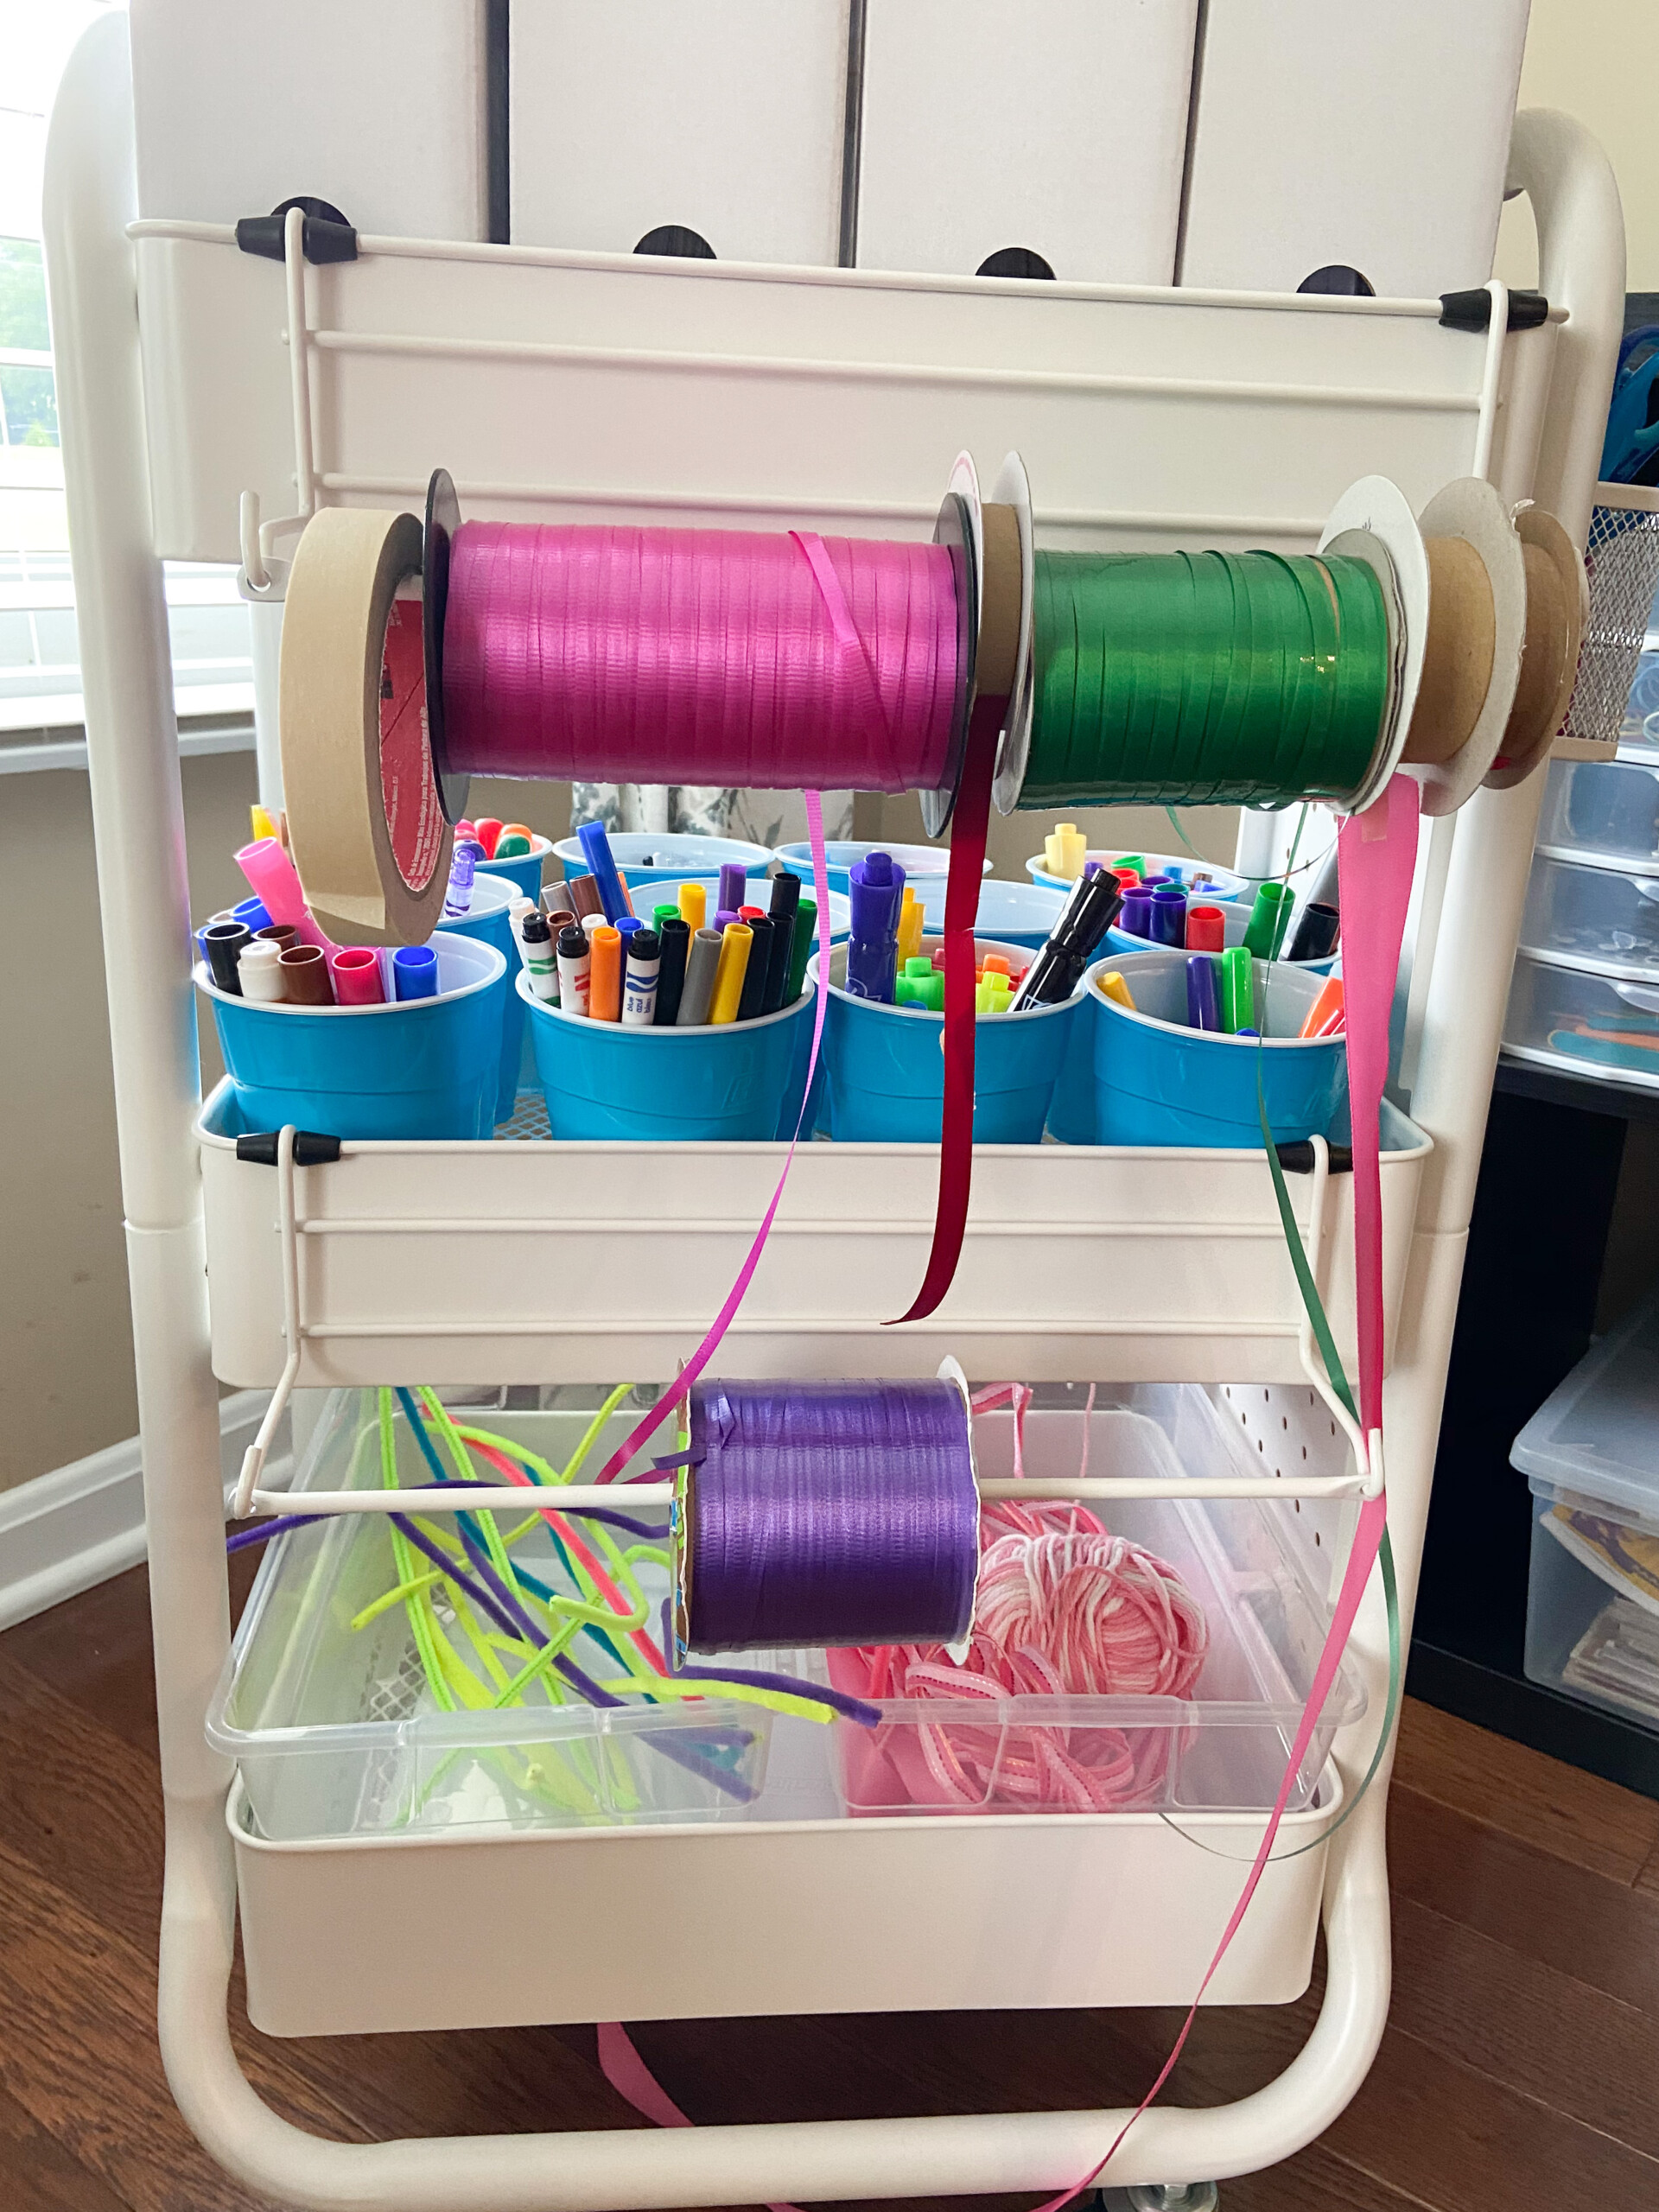
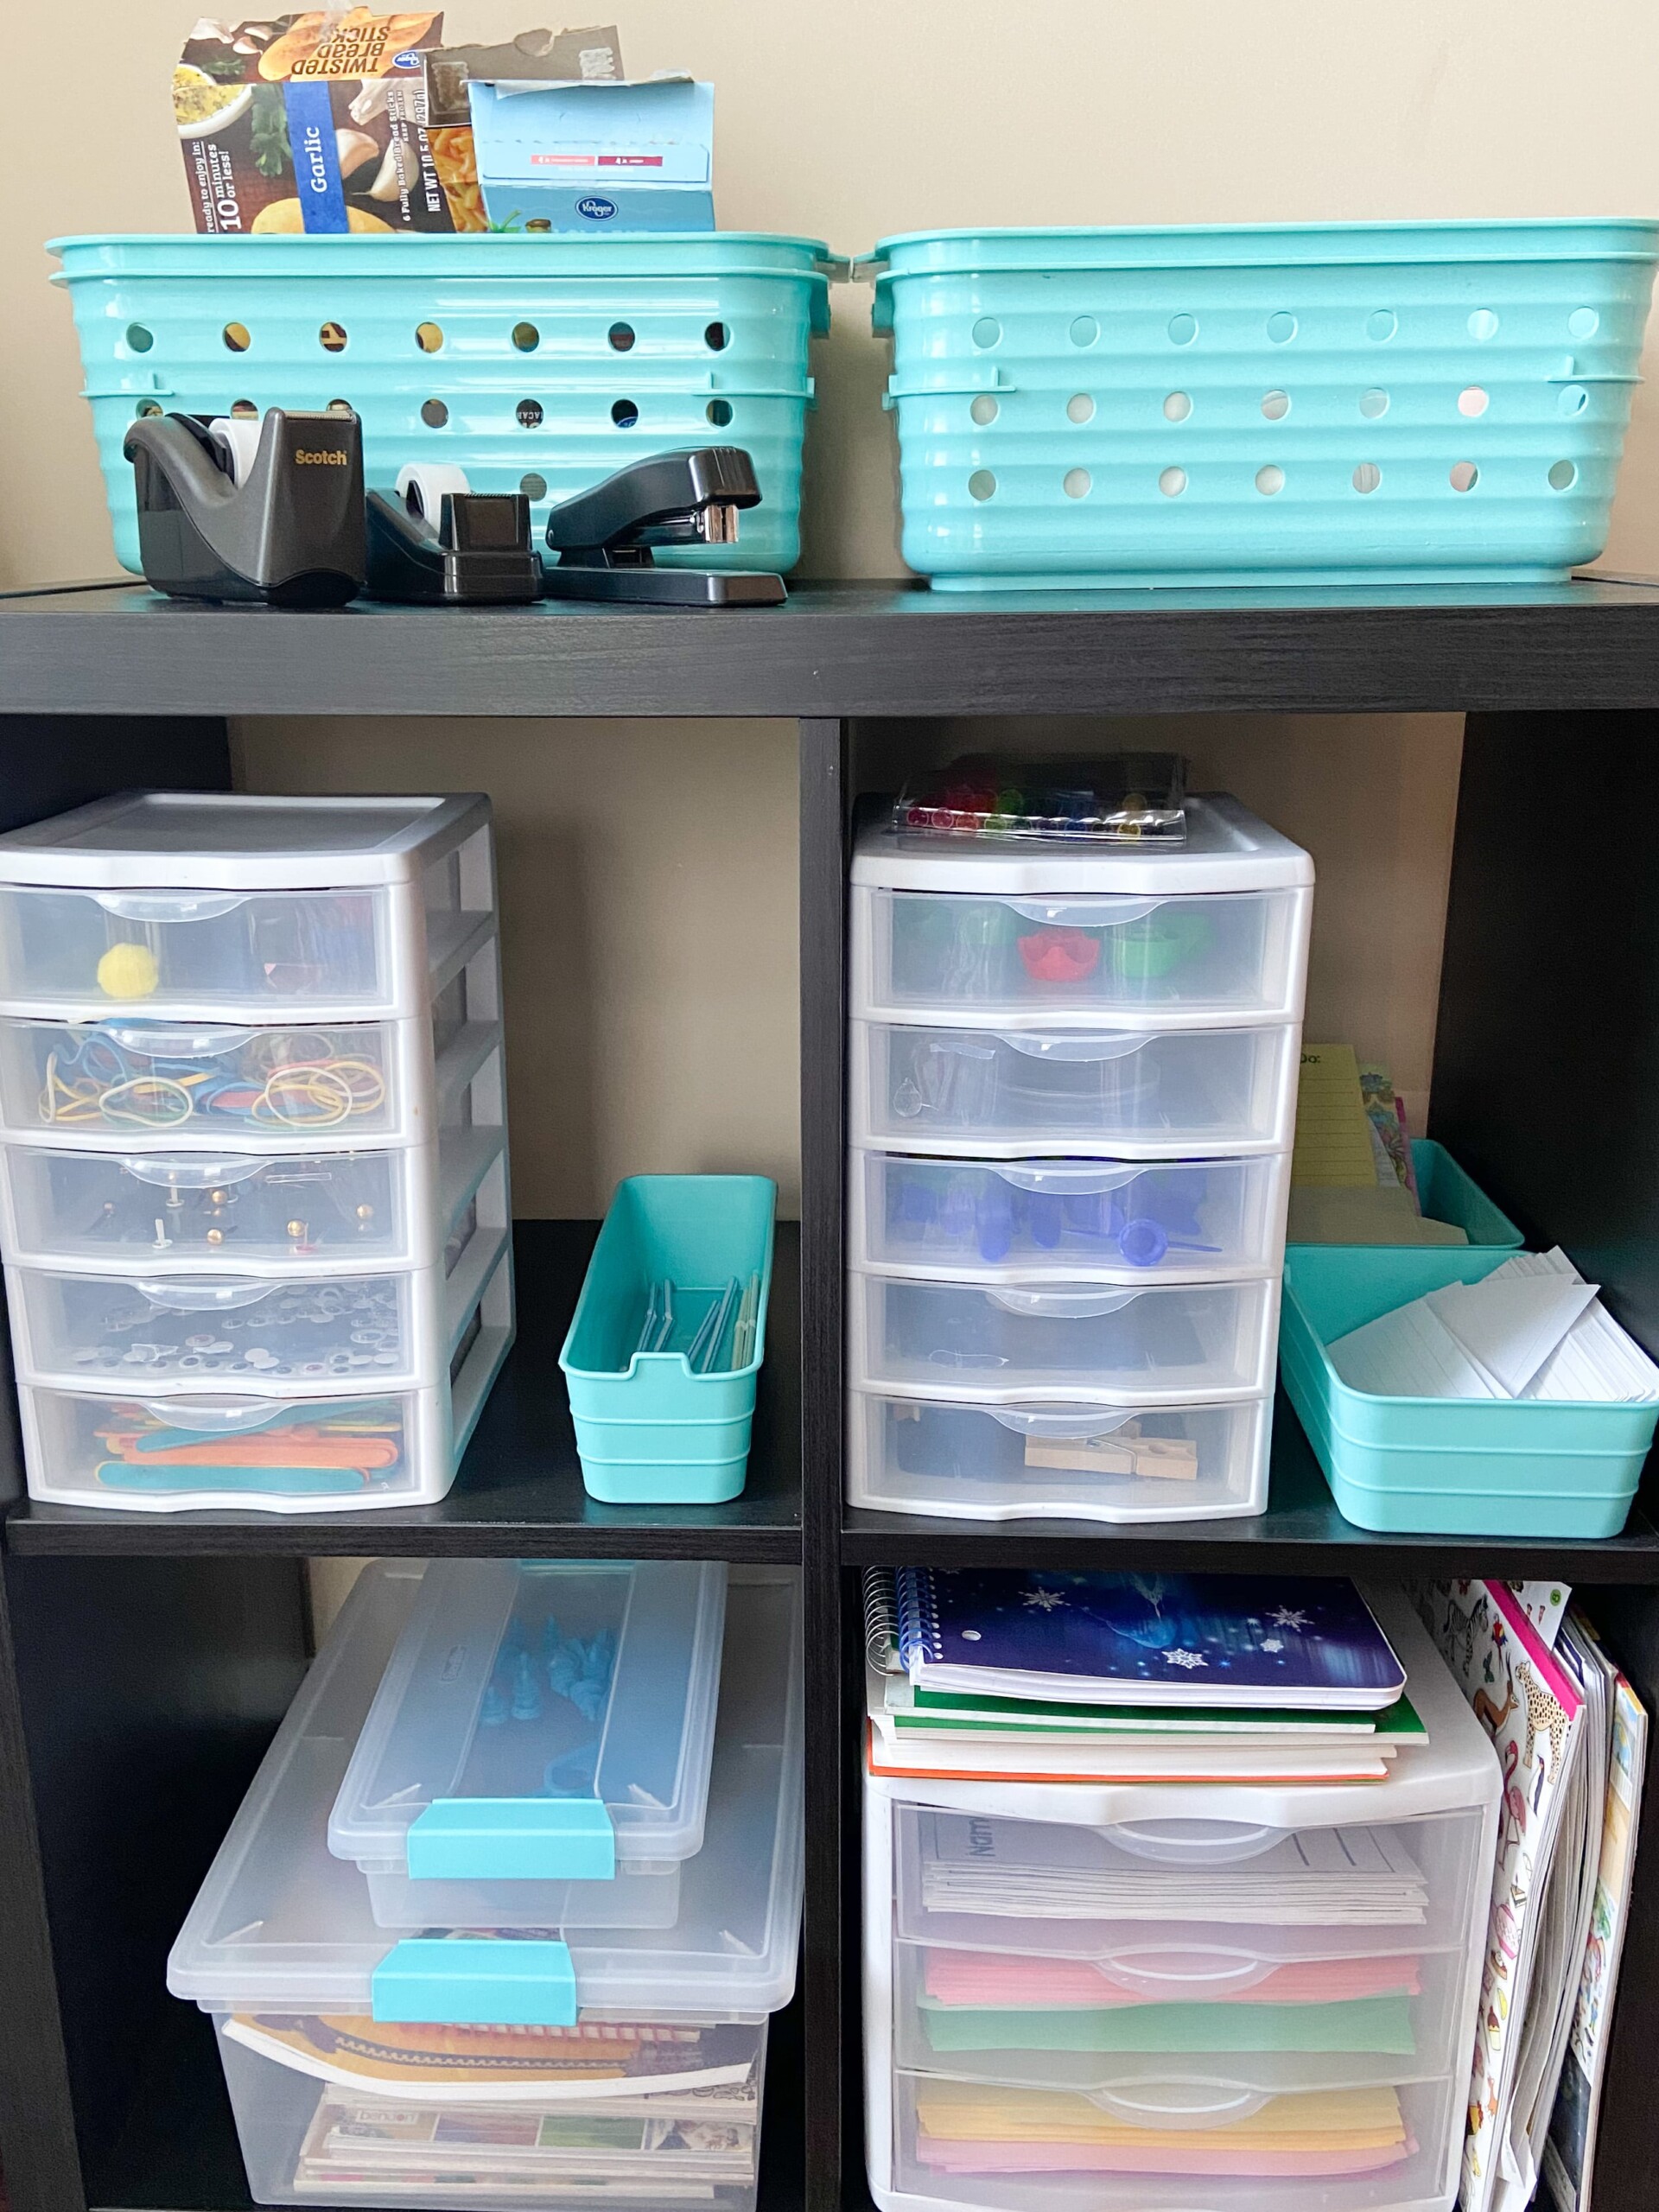
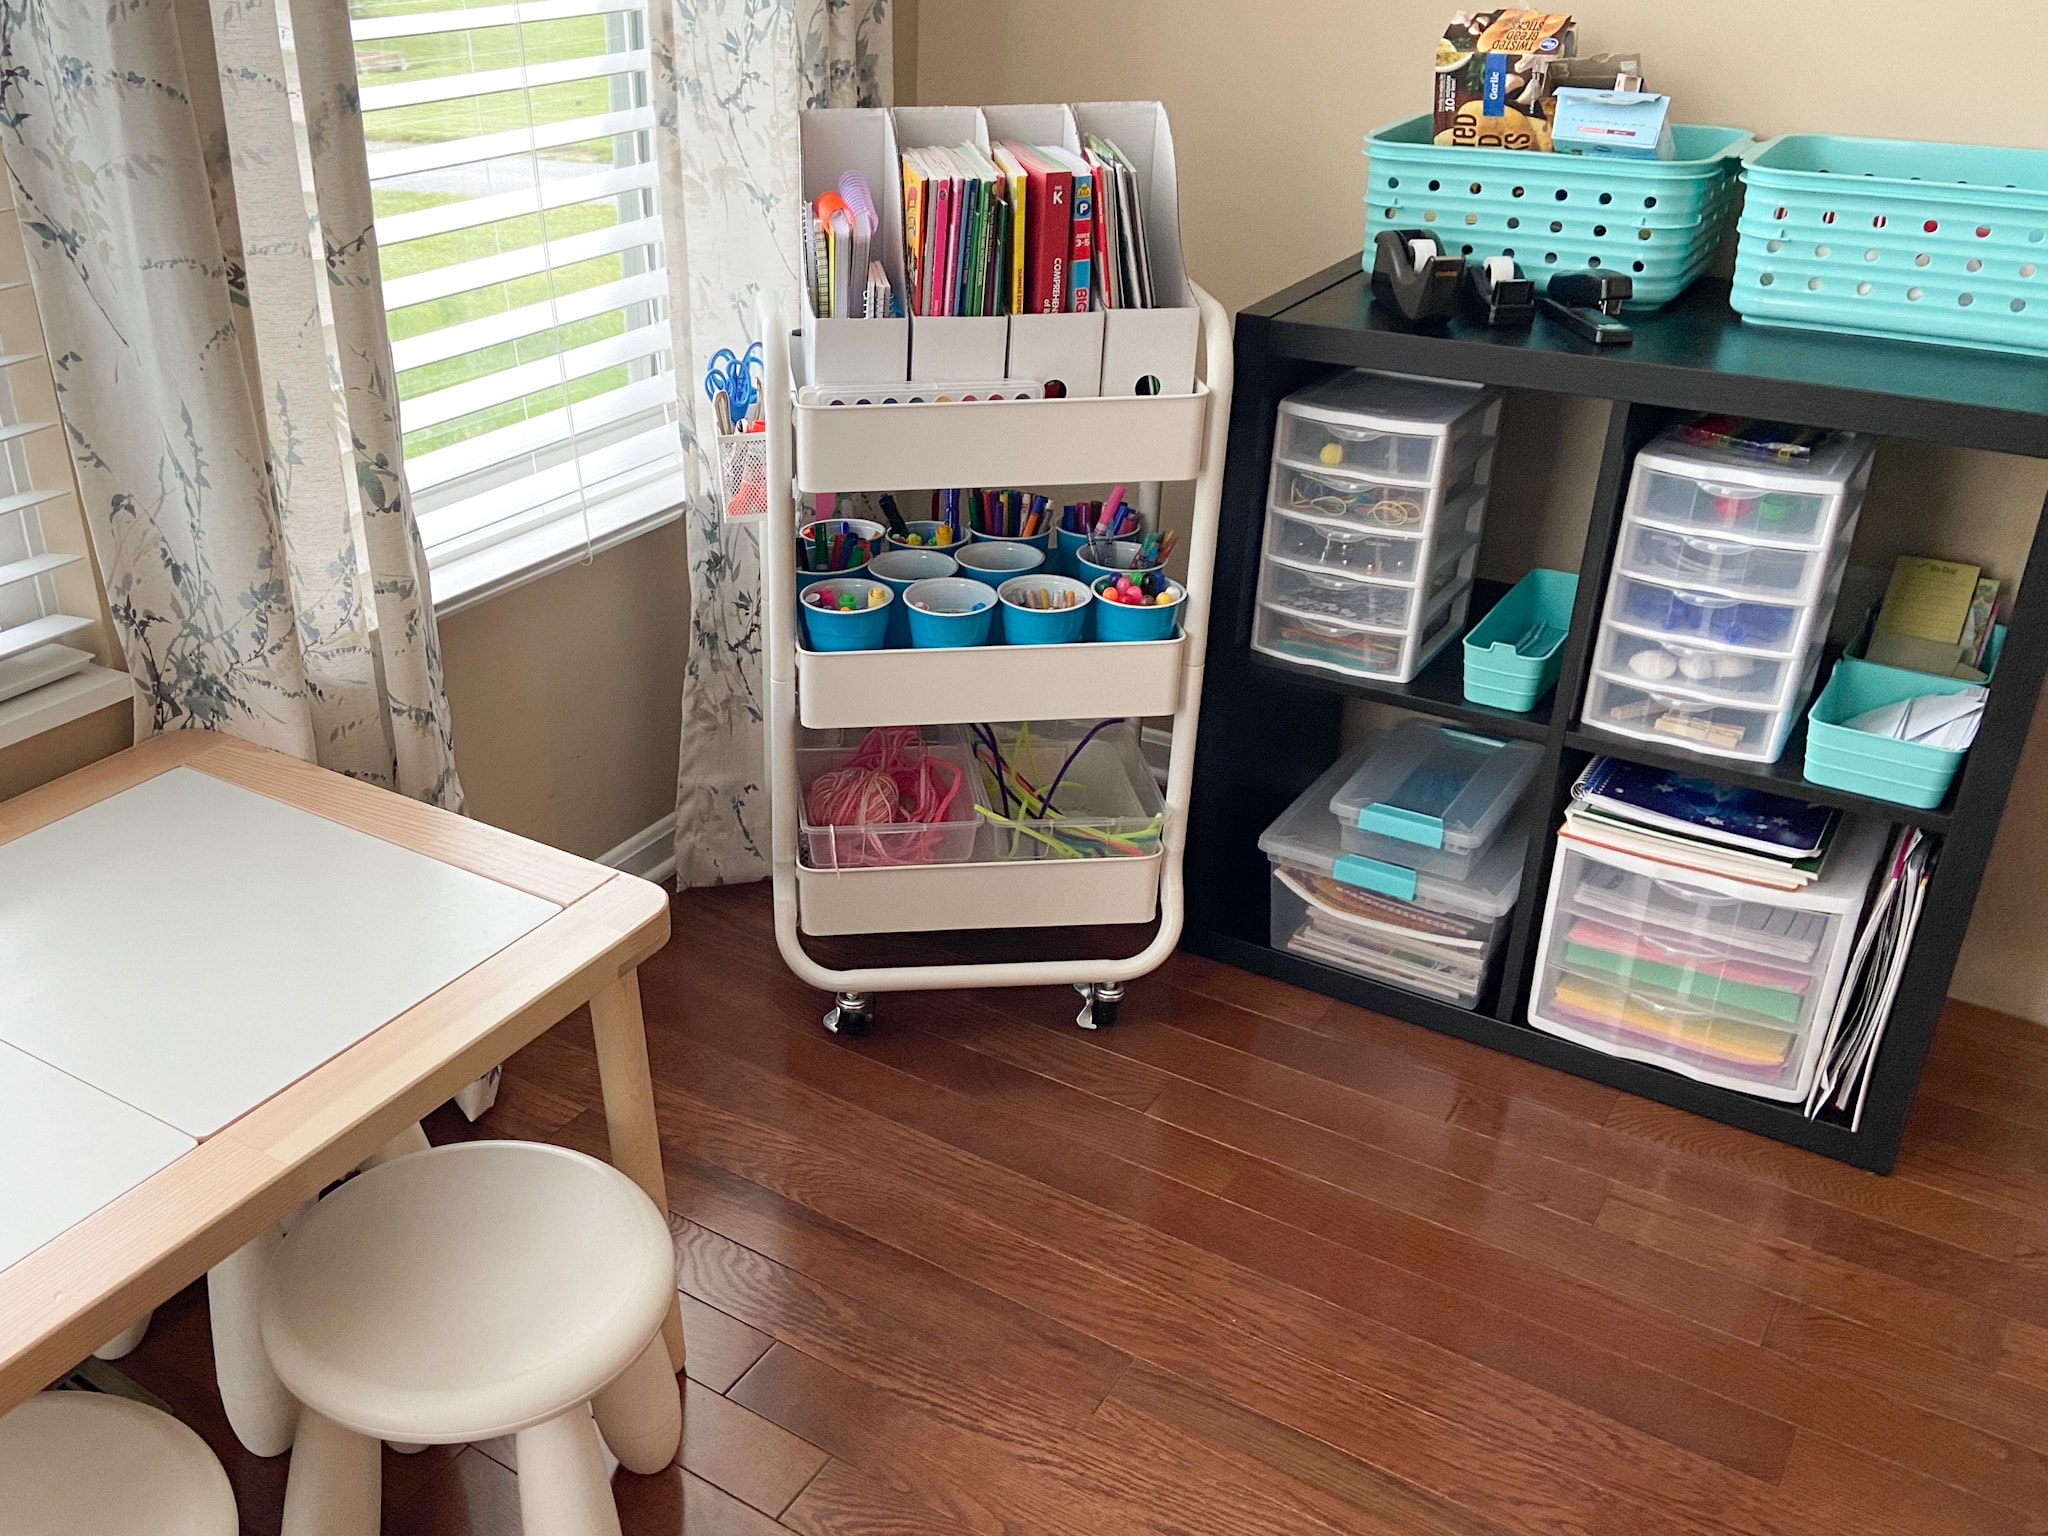
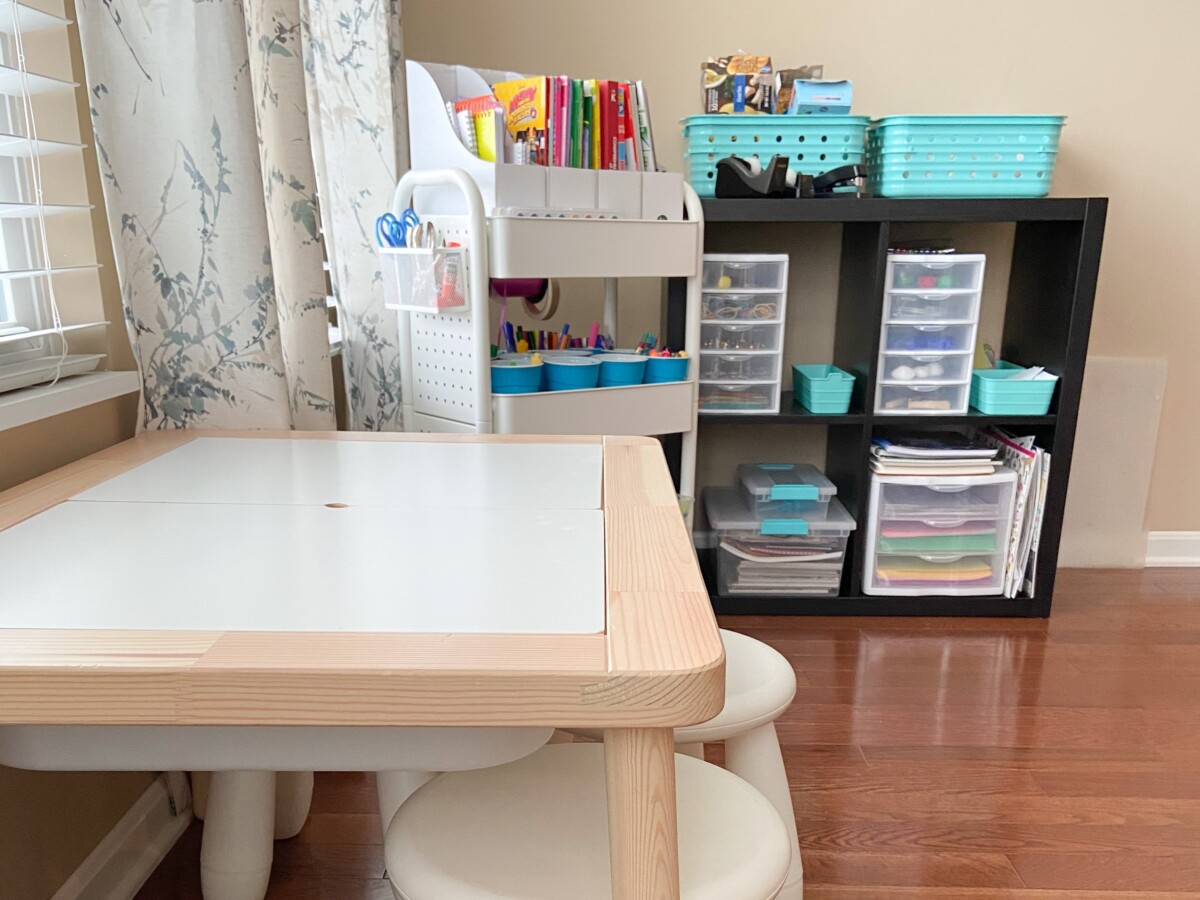
Here is a list of some of the items that we have in our maker space:
-Maker Cart- THIS post is great to learn more!!
-pipe cleaners
-pouch lids (from applesauce pouches)
-lids from bottles (pop, milk, etc.)
-cardboard boxes (small- like macaroni and cheese boxes)
-tape (all the tape- Washi, masking, scotch, etc.)
-stapler
-ribbon
-string
-index cards
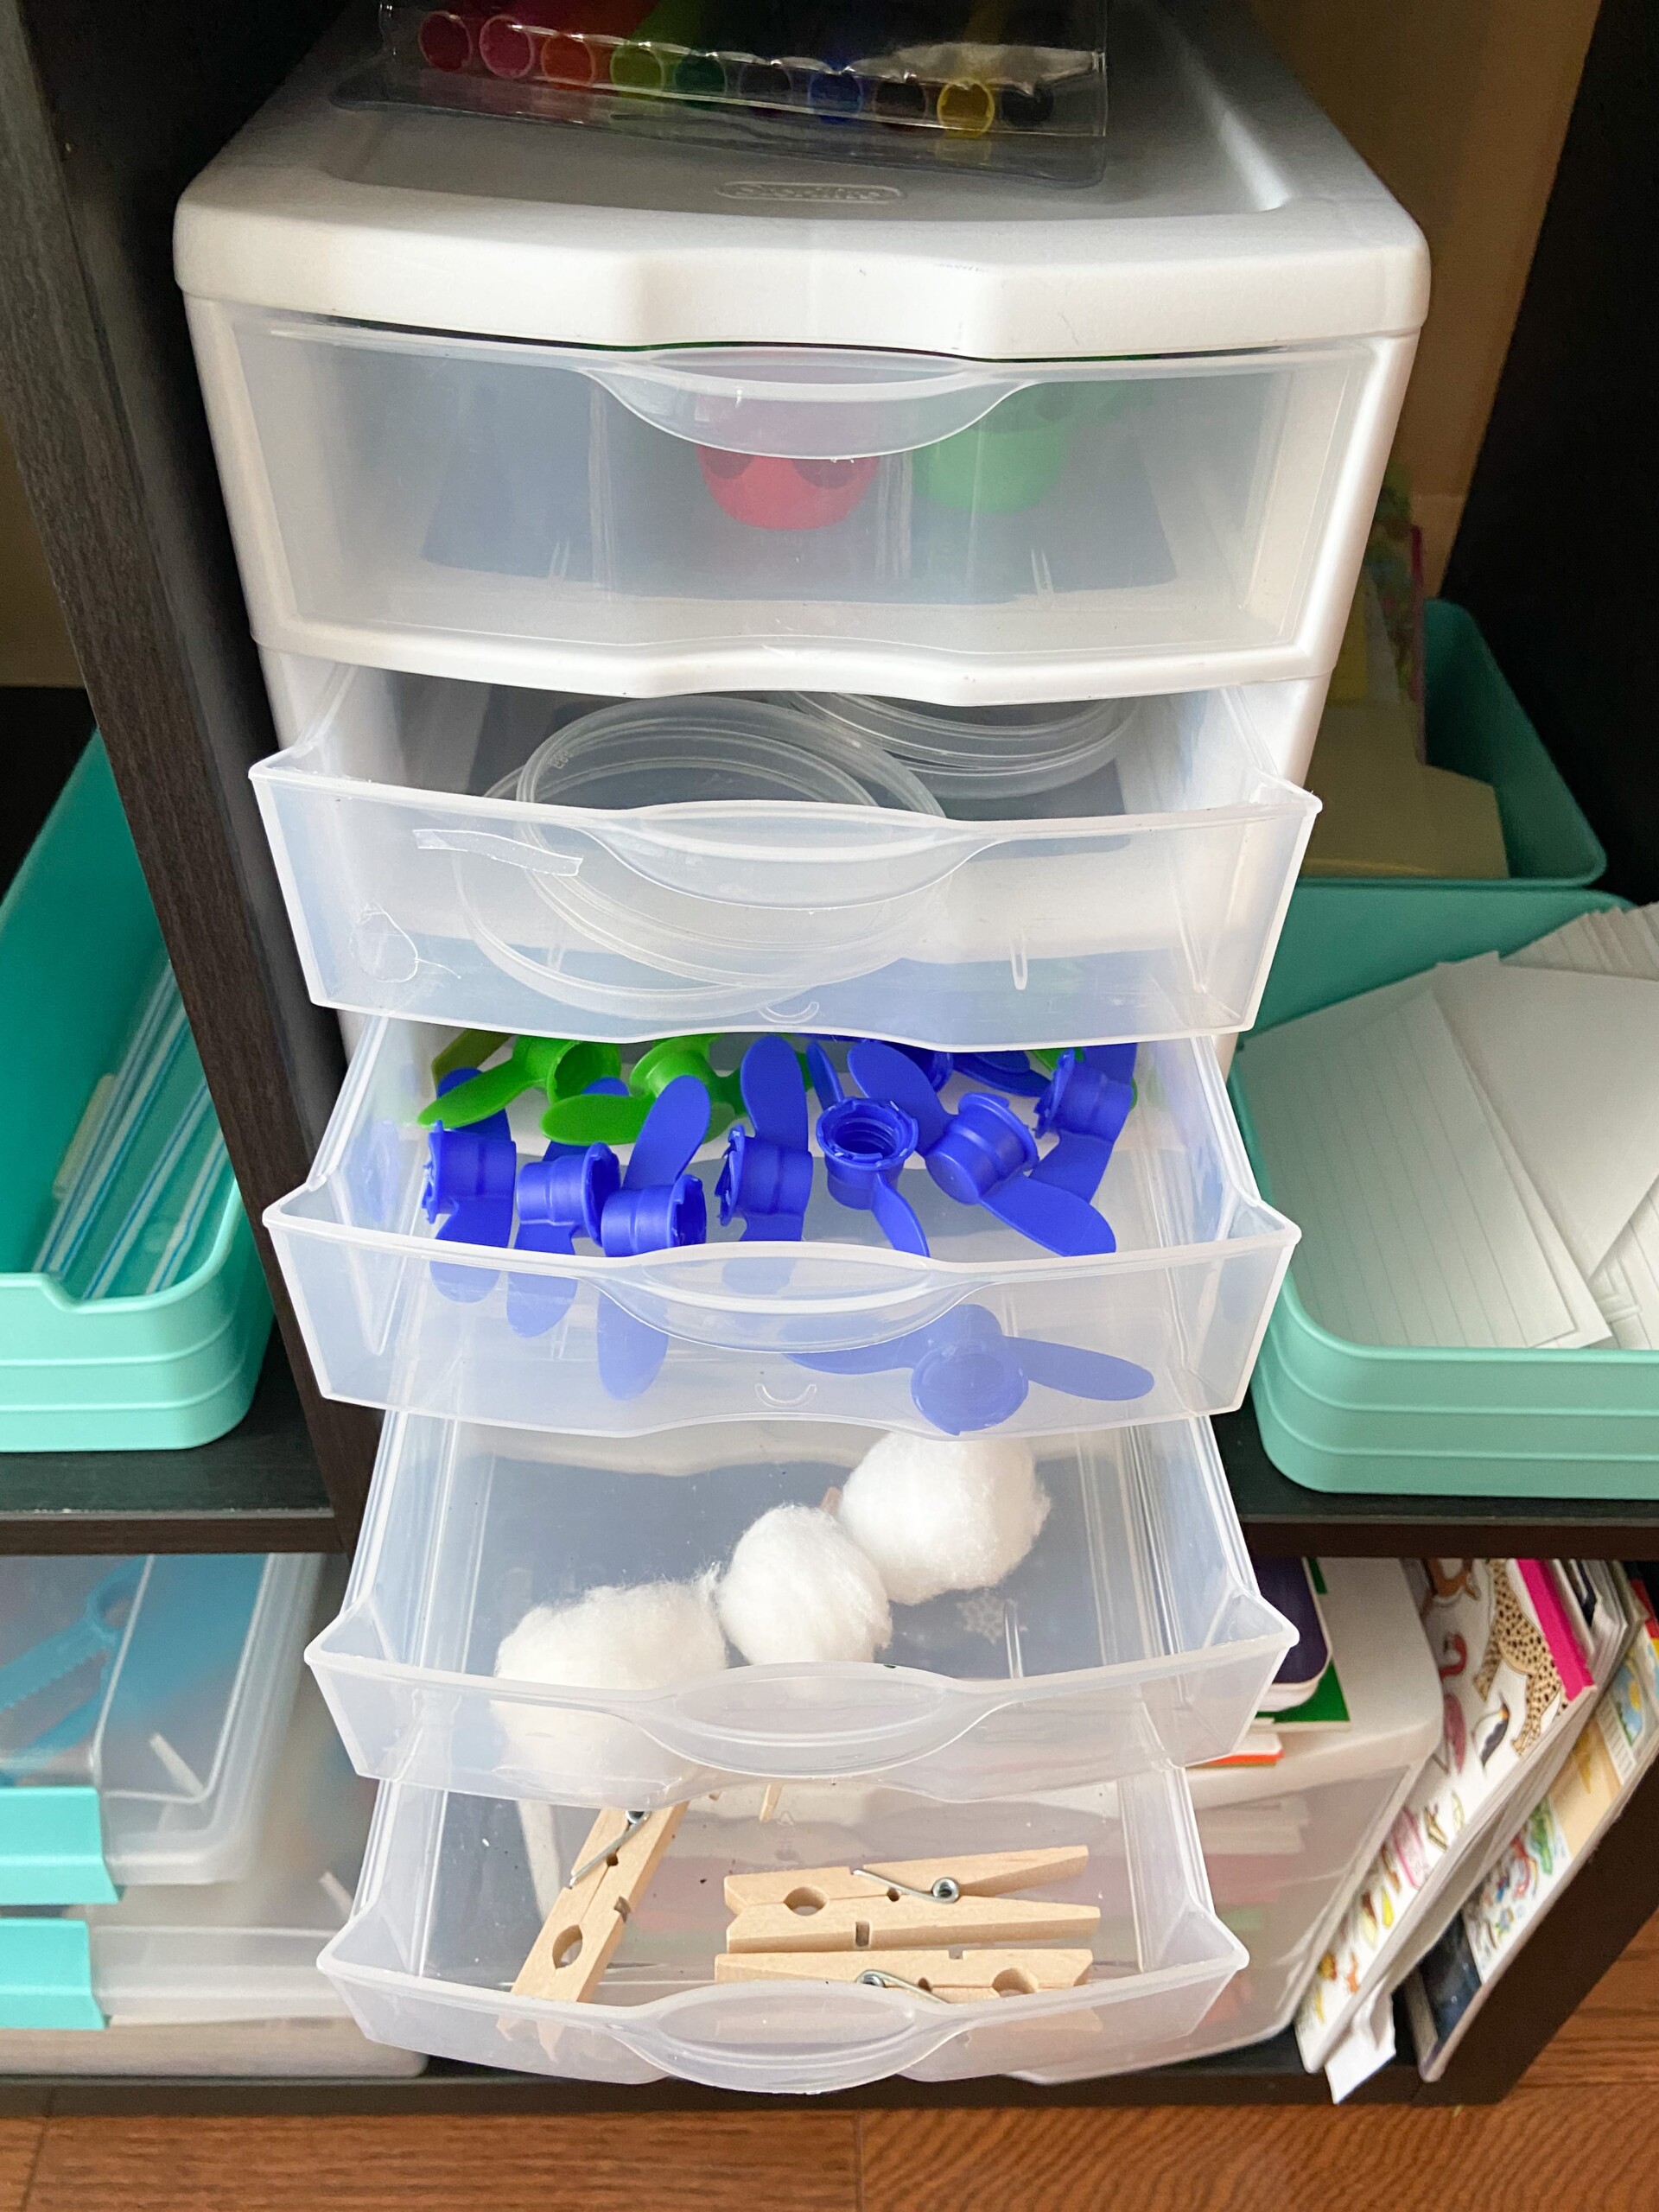
-pompoms
-colored paper
-white paper
-cardstock
-notebooks
-stickers
-crayons
-markers
-smelly markers
-smelly crayons
-colored pencils
-regular pencils
-paint sticks
-cotton balls
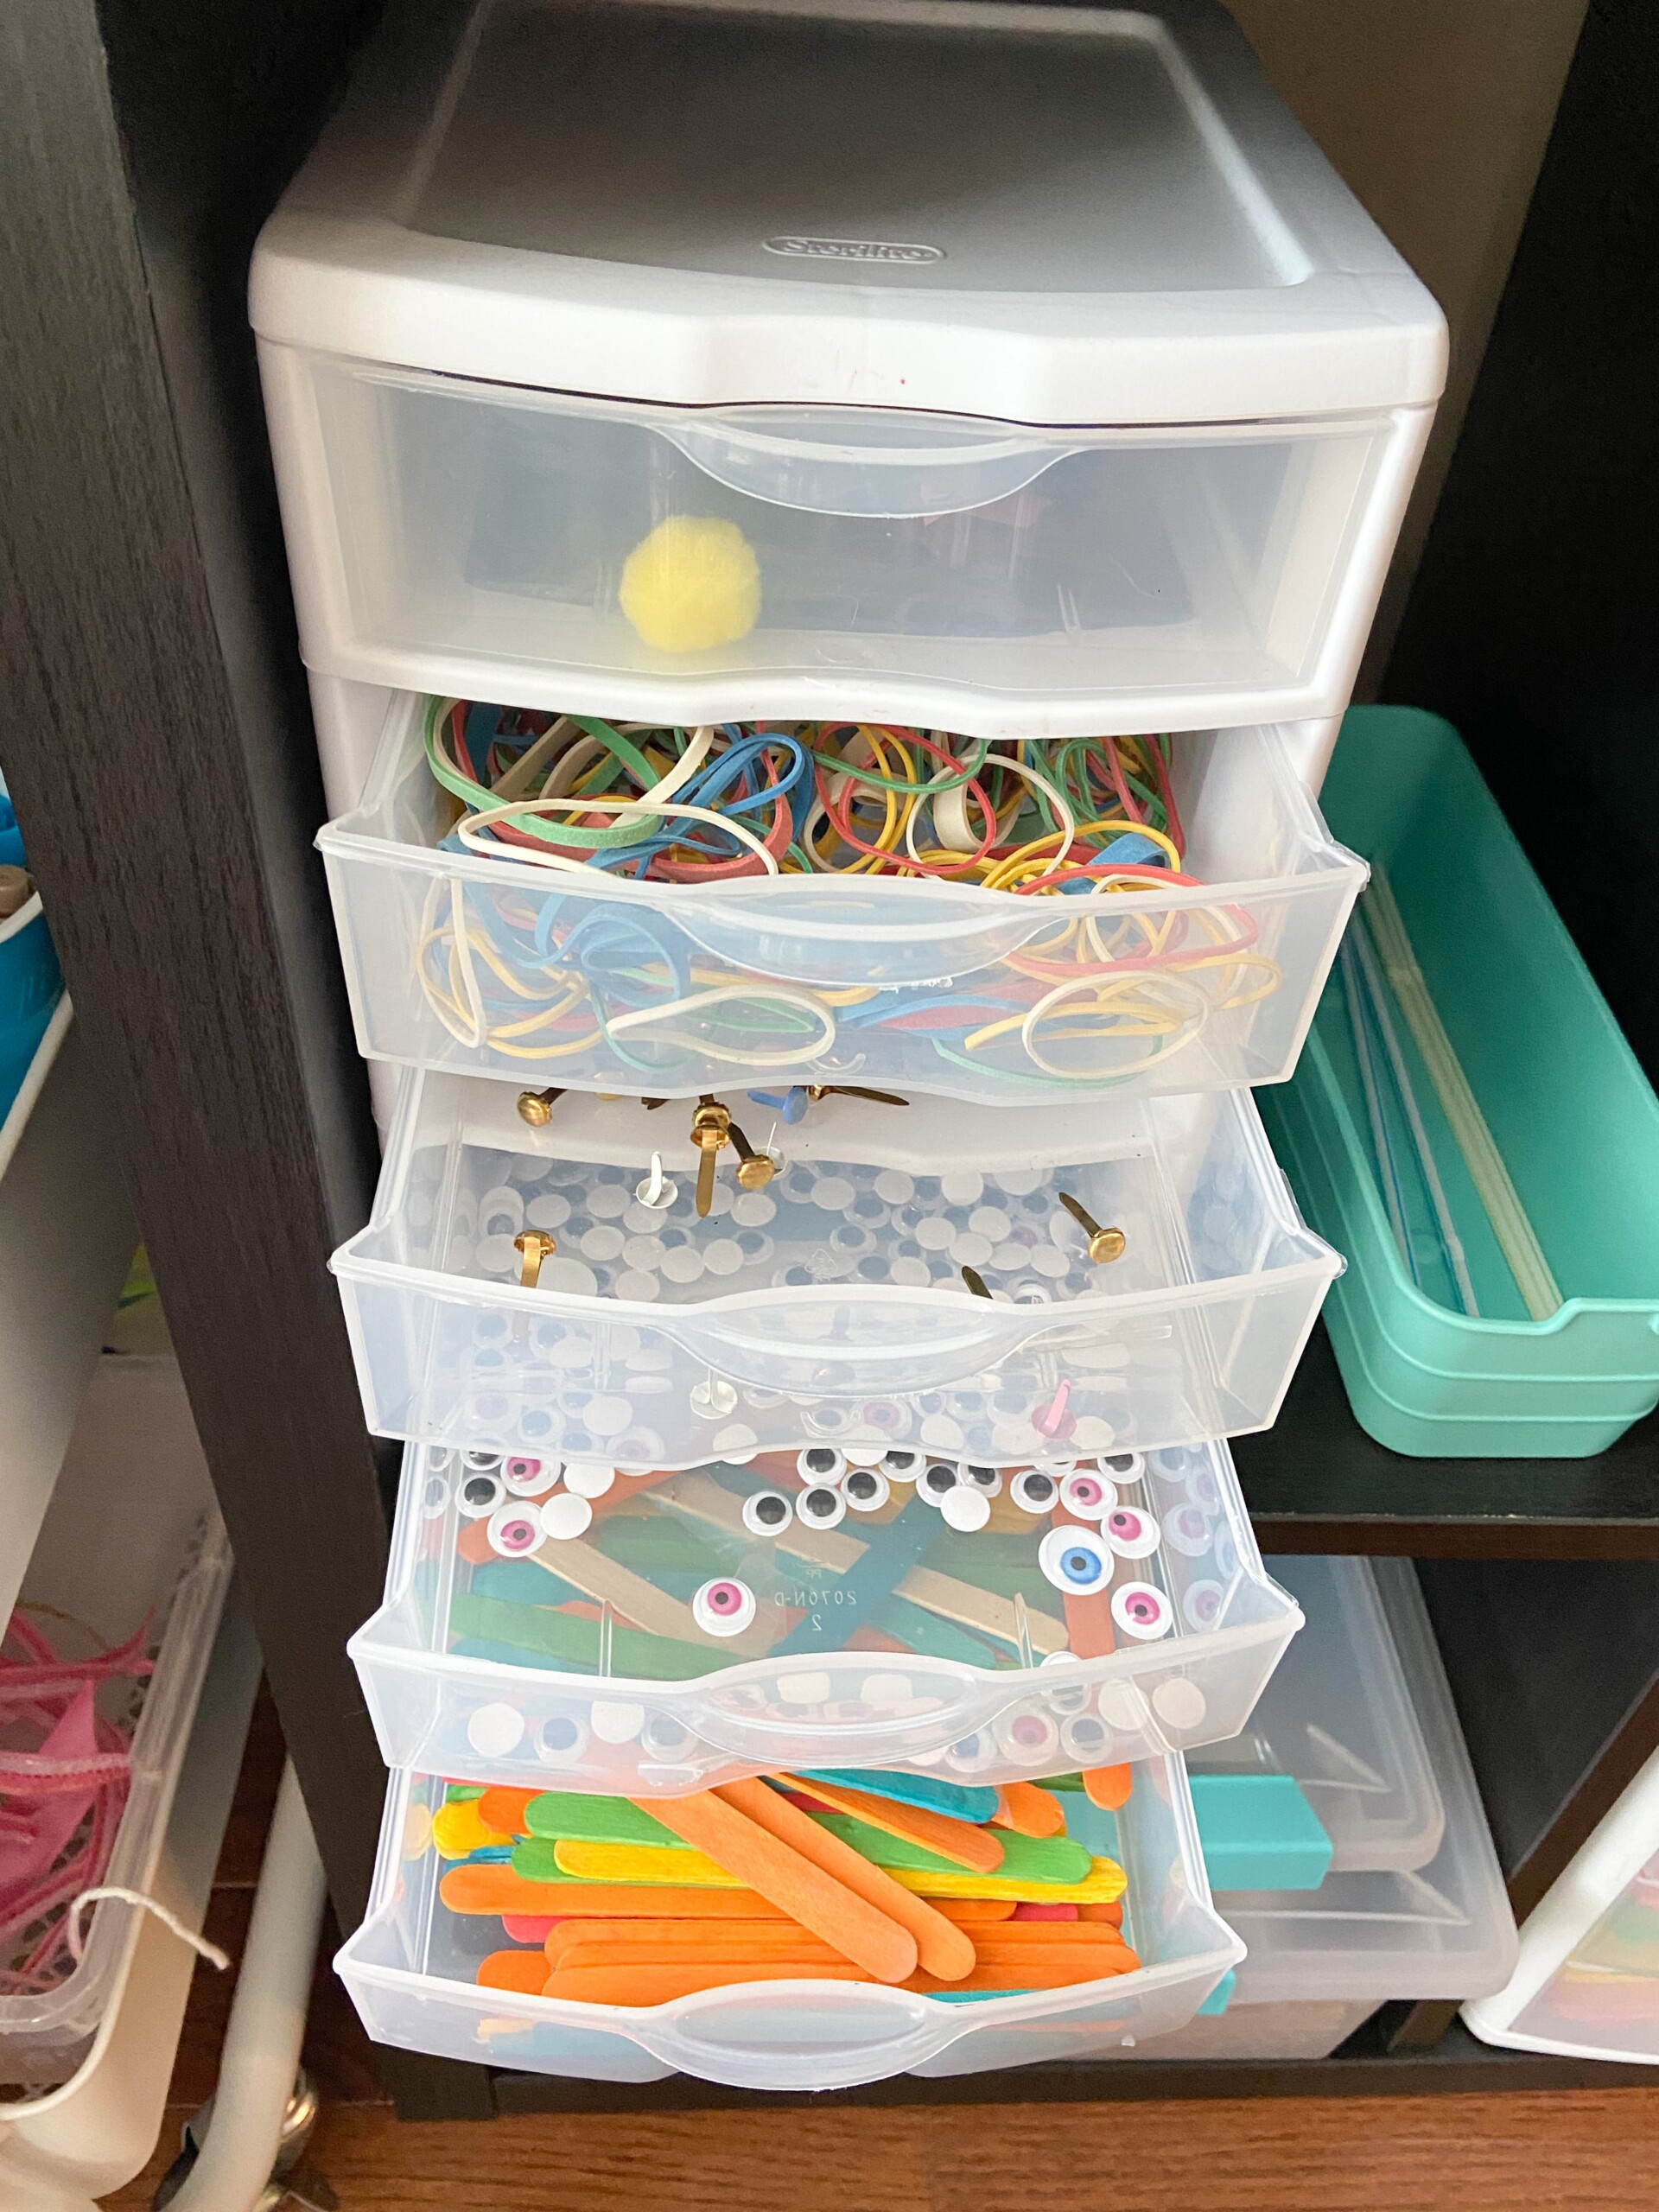
-rubberbands
-clothespins
-craft sticks
-straws
-coloring books
-hole punches
-glue sticks
-drop mat
Putting Your Maker Space Together
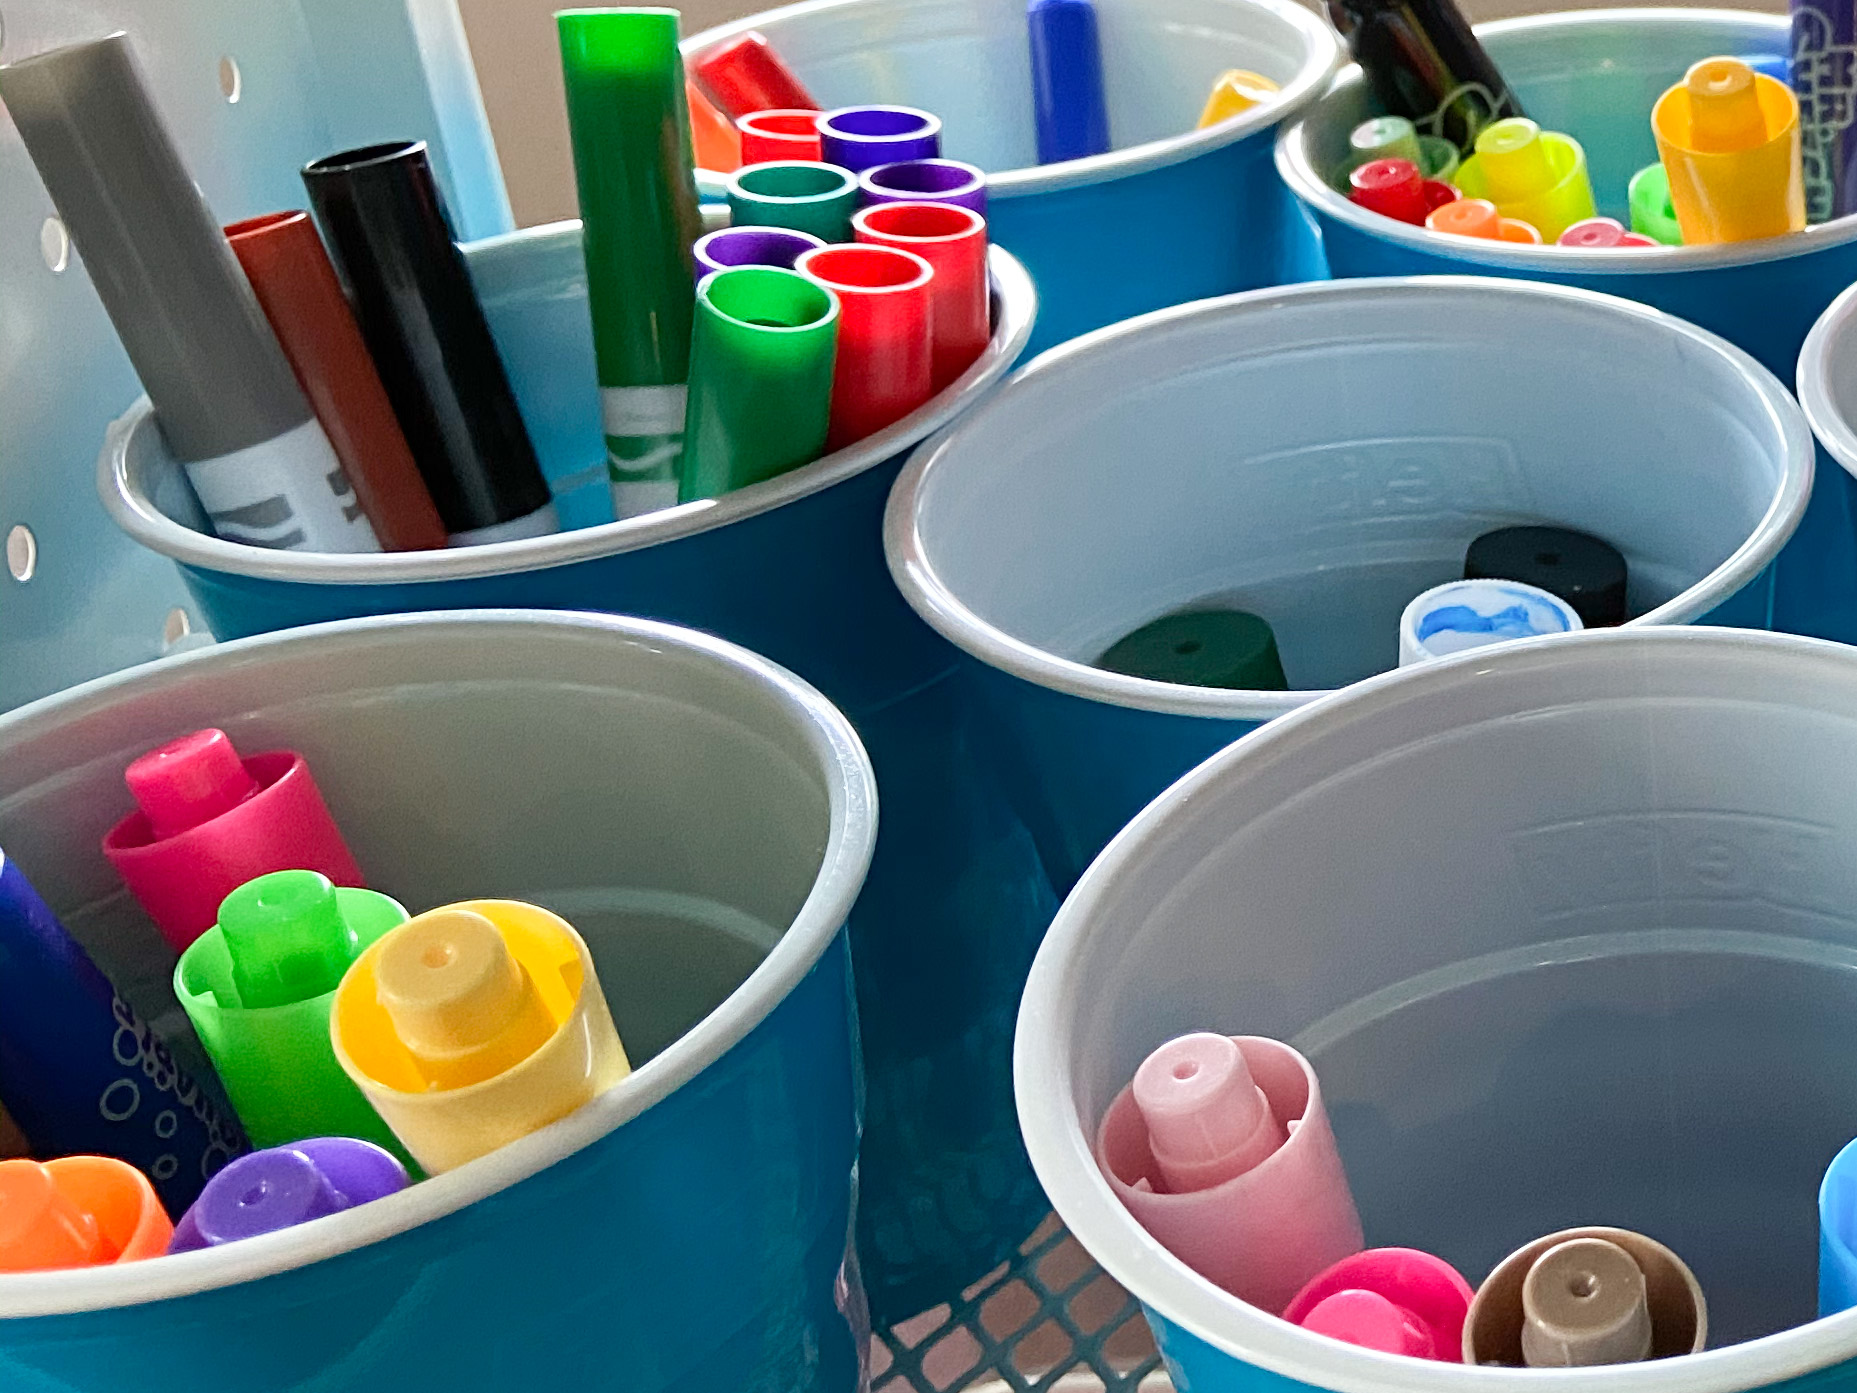
The last part is the best part! In this step, you get to put it all together. Organize craft supplies in a way that is appealing to your children. Make it inviting so that they want to sit down and create something or invent something. Try to make supplies accessible so that you do not have to help get things off of a high shelf. Allow your children to use ALL the materials. If you don’t trust them with it, DO NOT leave it out. But, allow your kids some trust! My kids have access to a stapler (ages 4 & 6), scissors, glue, and paint sticks. We have an understanding that if materials are not used correctly, with a mat under their work area, they will be taken away. Creating is a preferred activity in our house, so my kids take the rules very seriously and materials are used appropriately (almost all of the time)!
Using the Maker space to inspire creativity
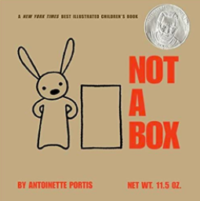
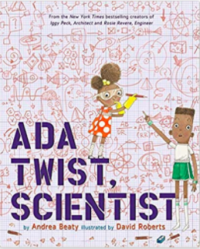
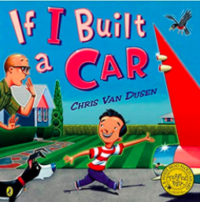
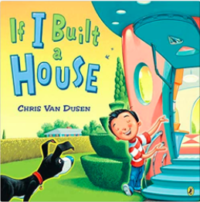
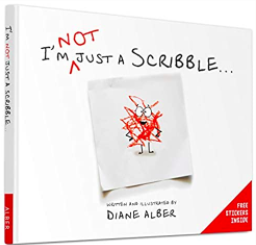
Kids are naturally creative and when given tools, they often will find fun ways to use them. This is so important for them and helps build critical thinking and problem solving skills. Most of the time I do not have to do ANYTHING to get my kids to create. They come up with the most random, creative, and imaginative things all on their own! If a little inspiration is needed though, there are a few good books that I suggest!

Creative Galaxy is a good show that inspires my kids as well!
While we are on the topic of books, I wrote THIS POST that talks about using picture books to teach kids how to correctly use school materials.
Our Experience when Organizing Kids Craft Supplies
Creating a maker space in our home and organizing our kids craft supplies was a process that took a little bit of time because the kids were involved in the process. Over the course of a few days, we narrowed down items and set them aside. Once we had our place in mind, we went bought our “maker cart” together, built it together, and then let creativity take over! Of course, this mama had something to do with the organization but the kids helped put everything in its place.
We chose the corner of our dining area to house our maker space because using our kitchen table made the most sense. I also like that the kids are in the same space as me when they are creating so I can provide supervision or support if requested. Our dining area also houses our sensory table (which has a lid) so projects can be stored there if they are works in progress.
We didn’t end up needing to purchase any storage items other than the maker cart because we already had the containers and drawers that we needed. Also, most of the supplies for our maker space were from our home (or from my classroom) so we didn’t need to invest a crazy amount there either!
Keeping it clean and organized
You will find that over time, you will need to reorganize your materials as they do change. My son now tries to collect every recyclable item in the house to use for a “project.” This has created a need for more LARGE storage that will hold boxes or anything he thinks he can repurpose.
The best thing that I learned from the course from Allie Casazza is that you only keep the stuff that fits into the space you have dedicated for your materials! So, if you purchase something large, you need to declutter to make room for it! Less is more! Strive for MINIMALISM! My kids love that all of their supplies are in one space and they don’t have to hunt all over for certain materials. I love it because the mess is contained to one corner of my house and my kids can be busy for HOURS!
Go and CREATE!
Now that you know how to set up a maker space, you’re ready to do it without worrying about having enough space or time. These steps will help you create the perfect space for your kids that will be unique to their needs and your space!
If you are interested in learning more about Allie Cassazza, you can find her free at the PURPOSE SHOW or you can check out her courses HERE! I’m telling you all, she has some great tips and tricks that can really help transform your time AND your space!
Please, send me pictures if you decide to set up a maker space! We are always looking for inspiration and would love to see what you create!
Thanks for reading!!
Stephanie


Leave A Comment